Choose other country to get service
Notice
TCL Industries Holdings Co., Ltd. (the "Company") has recently been made aware of certain scams fraudulently using the name of the Company and its subsidiaries or associated companies, and fraudsters faking identities as the staff of the Company or the authorized distributors to carry out the following fraudulent activities: Learn More
Close


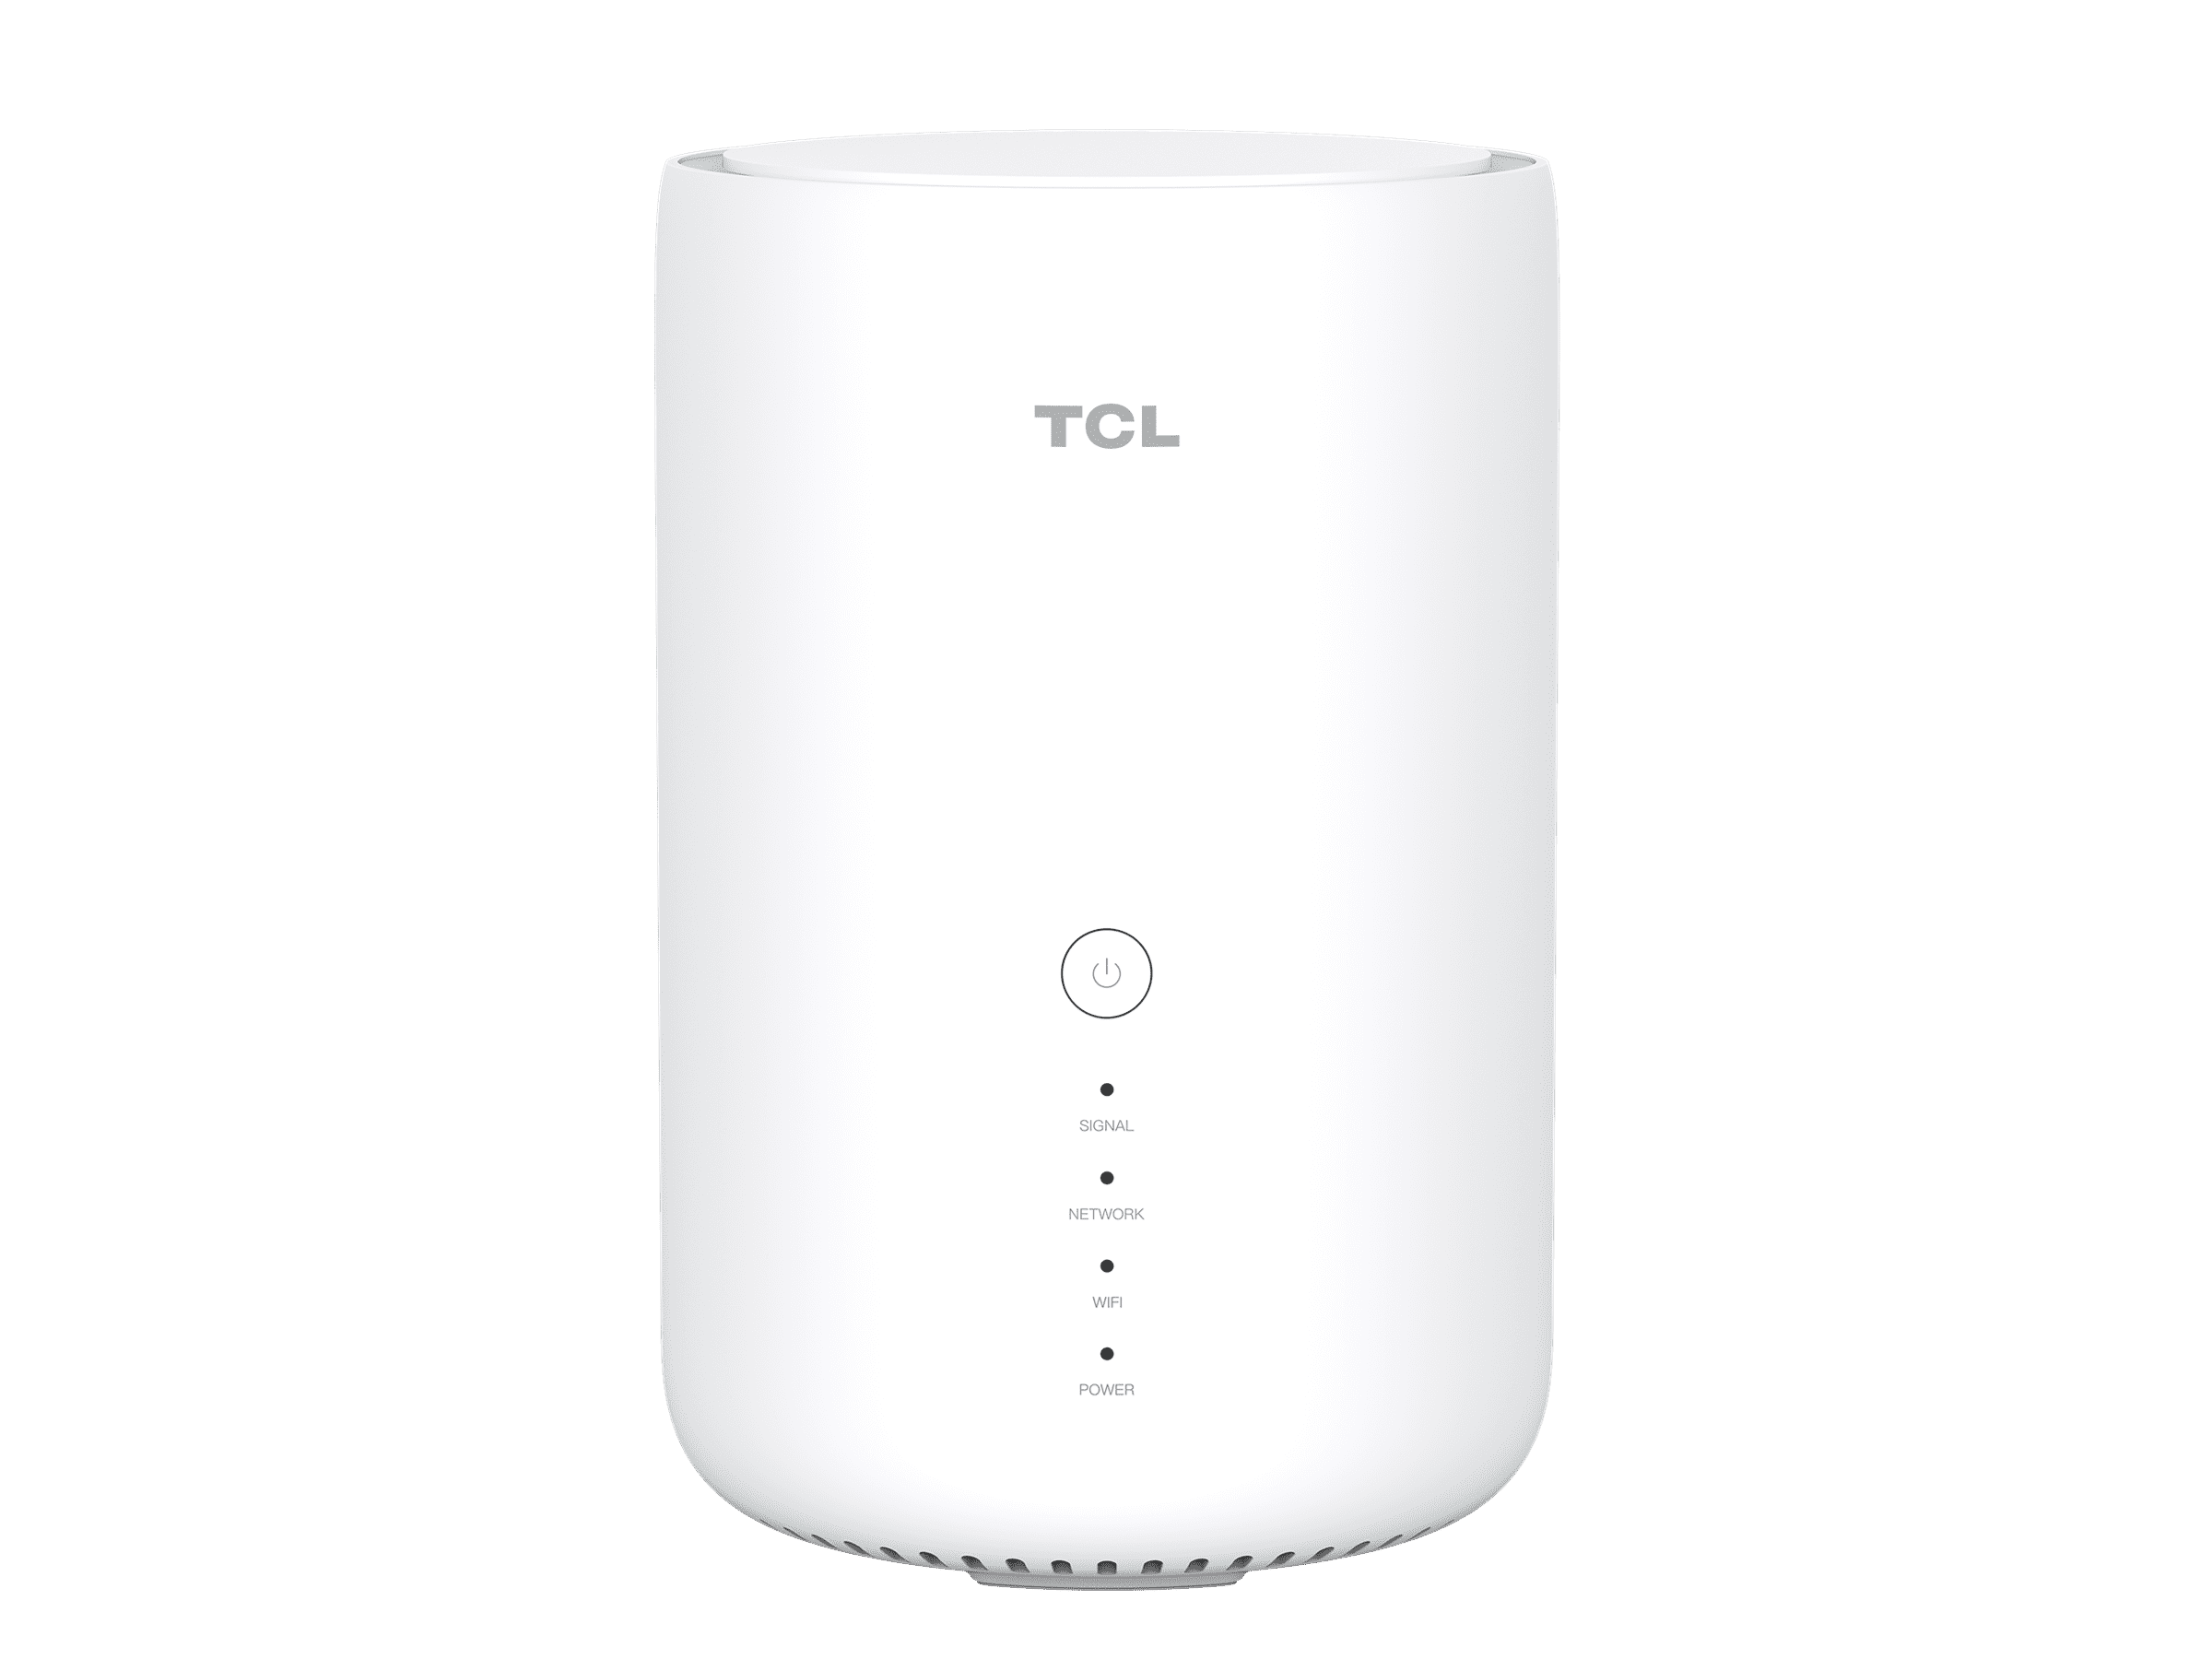
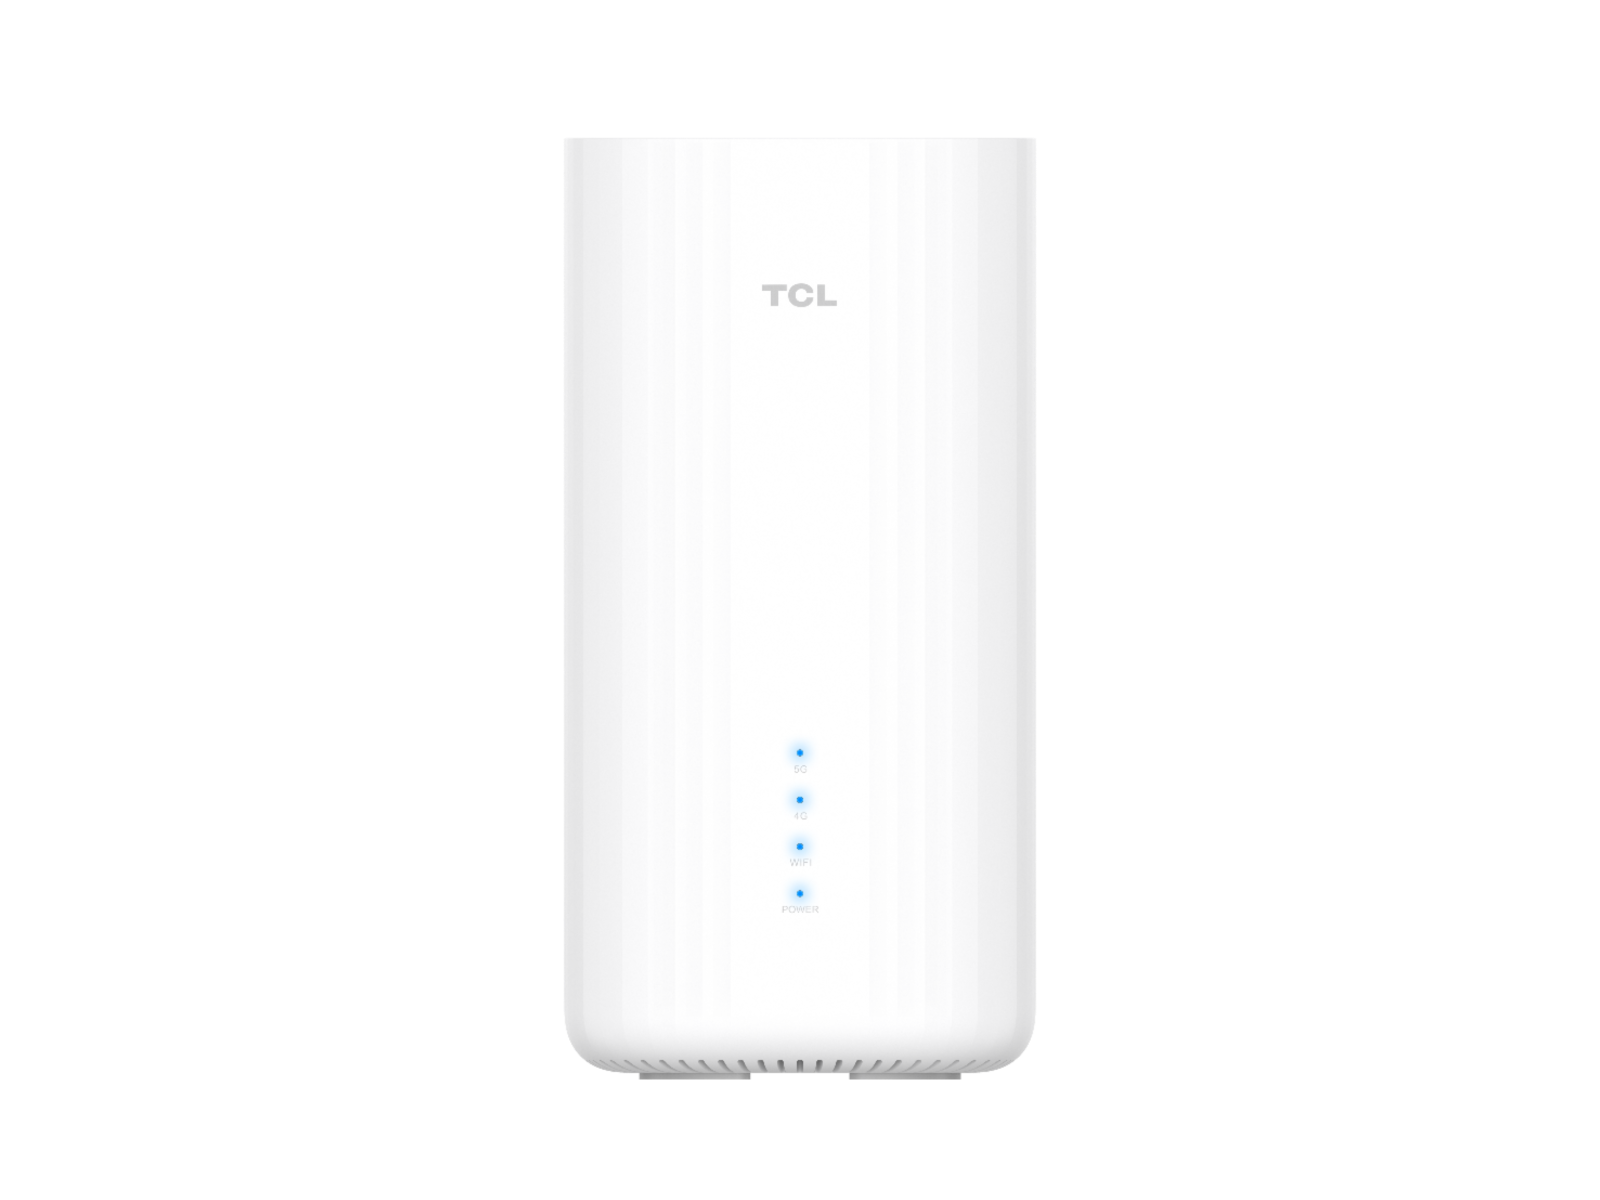
SELECT A MODEL


NEED MORE HELP?
Close
Terms & Conditions
Cookies Policy
Privacy Notice
Conflict Minerals
Environmental Performance
CSR Report
Sitemap
Copyright © 2026 TCL. All Rights Reserved.
This site uses cookies to analyse site traffic, improve your experience and personalize ads or other contents. By clicking Accept or continuing to browse the site, you are agree to our use of cookies. See our Cookies Policy here. Learn more